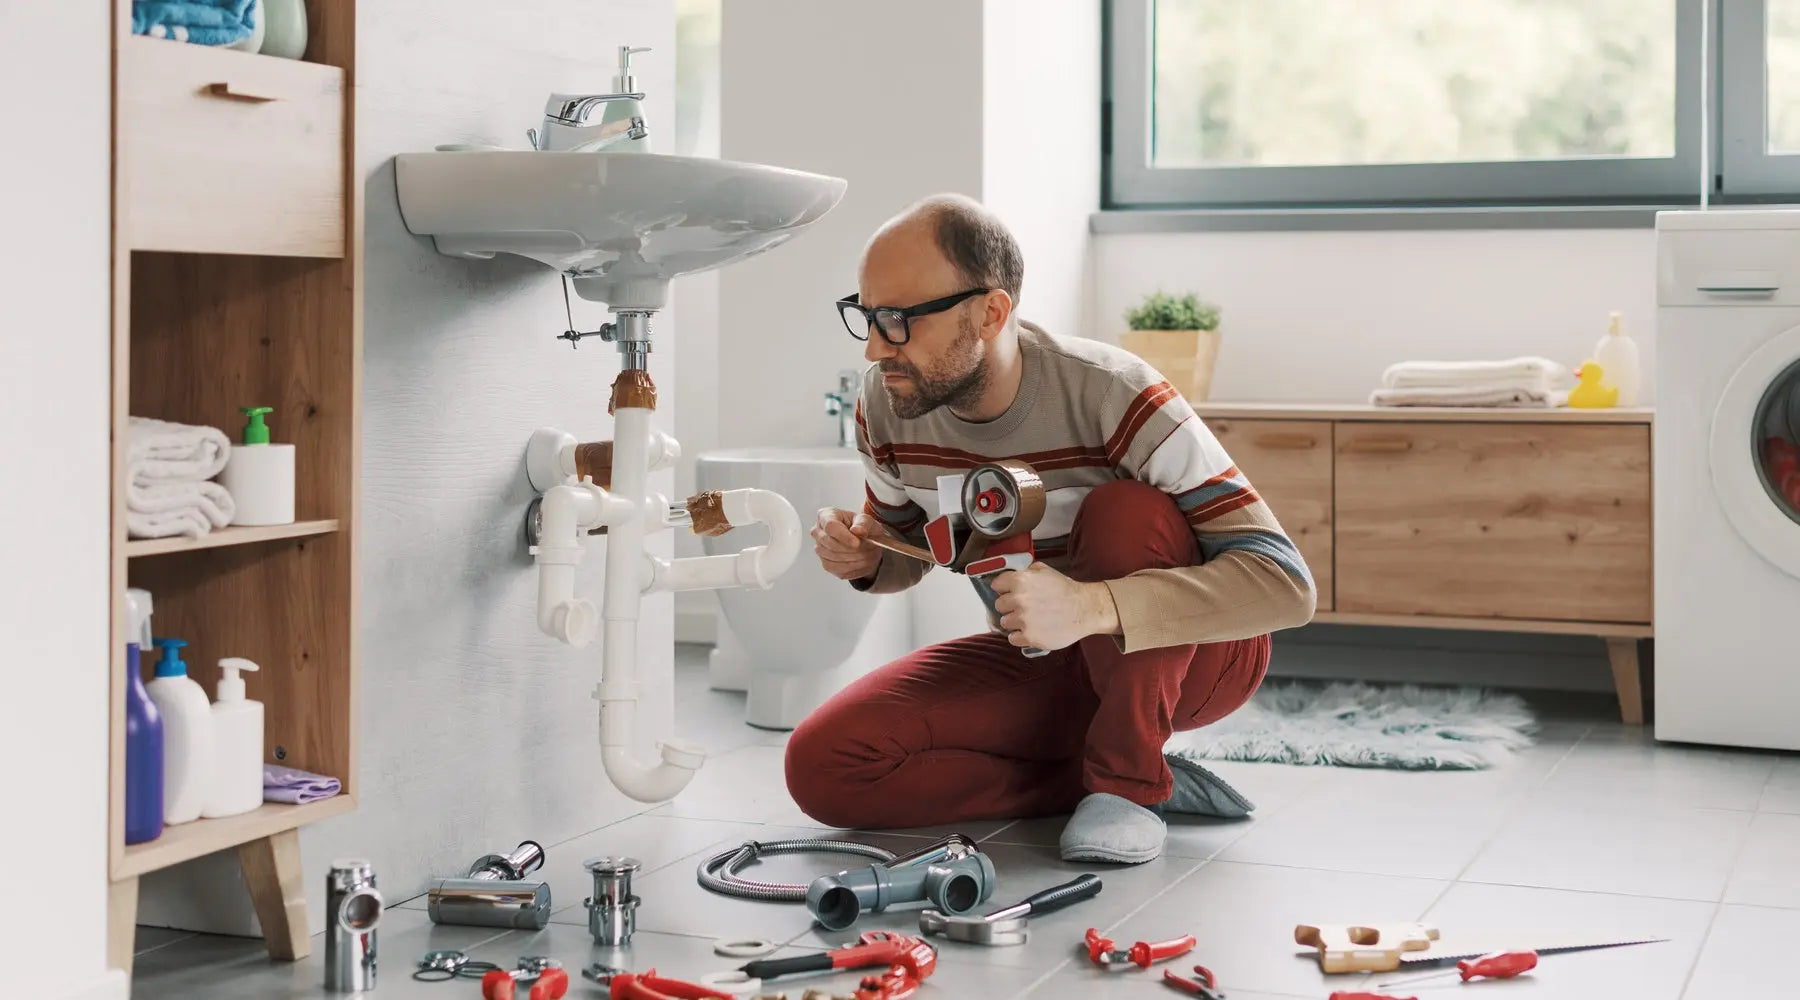
Every homeowner faces that moment when confidence meets reality during a DIY project. You watched the YouTube tutorial three times, bought all the right tools, and felt ready to tackle that leaky faucet or squeaky floorboard. Then, right when you get to work, something goes sideways.
DIY disasters happen to the best of us—the key lies in knowing how to respond when things go wrong. Quick thinking, damage control, and knowing your limits can turn a potential catastrophe into a manageable setback.
Stop Everything and Assess the Situation
The first rule of any DIY disaster is to pause. Your natural instinct might push you to keep working or try to fix the new problem immediately, but this often makes things worse. Step back and evaluate what just happened.
Look for immediate safety hazards. Water near electrical outlets, exposed wiring, or structural damage that could cause collapse all require your immediate attention. Gas leaks present another serious concern—if you smell gas, evacuate the area and call your utility company right away.
Document the damage with photos before you touch anything. These images prove invaluable for insurance claims or contractor consultations. Take pictures from multiple angles and capture both close-up details and wider shots showing the overall scope of the problem.
Address Immediate Safety Concerns
Safety always trumps saving money or finishing the project quickly. Turn off utilities to the affected area if necessary. The main water shutoff valve, electrical breakers, and gas shutoff valve should be familiar landmarks in your home—if they’re not, locate them now before you need them in an emergency.
Water damage spreads fast. If you’ve caused a leak, grab every towel, bucket, and tarp you can find to contain the water. Move furniture and belongings away from the affected area. Even small amounts of water can cause significant damage to flooring, walls, and personal items if left unchecked.
Electrical problems demand extreme caution. Never touch exposed wires, and don’t attempt electrical repairs with wet hands or while standing in water. If you’re unsure about electrical safety, err on the side of caution and call a professional electrician immediately.
Contain and Minimize Further Damage
Once you’ve addressed immediate safety concerns, focus on preventing the problem from getting worse. This damage control phase often determines whether you’re dealing with a minor setback or a major repair bill.
For water-related issues, your priority is stopping the flow and drying out affected areas. Start by using plastic sheeting to direct water away from vulnerable surfaces. Set up fans and dehumidifiers if available to speed up the drying process. Mold can begin growing within 24–48 hours, so time matters.
Electrical problems require shutting off power to the affected circuit. Label the breaker clearly so nobody accidentally turns it back on while you’re working on a solution. Test outlets and switches in the area to confirm the power is off before proceeding.
Know When To Call In Professionals
Pride and budget concerns often prevent homeowners from calling professionals when they should. However, some situations demand expertise that goes beyond typical DIY skills. Recognizing these moments saves money in the long run and prevents potentially dangerous mistakes.
Major plumbing disasters, especially those involving main water lines or sewer systems, typically require professional intervention. While you might successfully fix a dripping faucet, a burst pipe or sewage backup exceeds most homeowners’ capabilities and comfort levels.
Electrical work beyond replacing outlets or switches enters professional territory quickly. If your DIY electrical project has caused sparks, tripped multiple breakers, or resulted in any burning smells, stop immediately and call an electrician. The risks of fire or electrocution make this non-negotiable.
Understanding when and when not to DIY these repairs protects both your safety and your wallet. The cost of professional help often pales in comparison to the expense of fixing amateur mistakes.
Temporary Solutions vs. Permanent Fixes
Sometimes you need to implement temporary measures to make your home livable while planning proper repairs. Understanding the difference between stopgap solutions and permanent fixes helps you prioritize your response and budget accordingly.
Temporary water line repairs using pipe clamps or rubber patches can stop leaks temporarily, but these solutions shouldn’t become permanent. They buy you time to find proper materials or schedule professional help without dealing with ongoing water damage.
Electrical problems often have simple temporary solutions. If a circuit keeps tripping, you might need to reduce the electrical load on that circuit while you investigate the root cause. This might mean unplugging appliances or using extension cords from other circuits as a short-term workaround.
Working With Insurance
DIY disasters sometimes qualify for homeowners’ insurance coverage, depending on your policy and the specific circumstances. Contact your insurance company promptly to report the damage and find out about coverage options.
Insurance adjusters want to see the damage before you begin repairs, so avoid cleaning up too much before they arrive. However, you can and should take reasonable steps to prevent further damage—insurance companies expect this level of responsibility from homeowners.
Working With Contractors
When hiring contractors to fix your DIY mistakes, honesty about what happened helps them provide accurate estimates and advice. Most professionals have seen every type of DIY disaster imaginable, and they’re not there to judge your skills.
Common handyman services you may need include drywall repair, plumbing fixes, electrical troubleshooting, and painting touch-ups. Many contractors specialize in fixing DIY mistakes and can often salvage more of your original work than you might expect.
Learning From DIY Mistakes
Every DIY disaster teaches valuable lessons, even if the education comes at a higher cost than you’d prefer. Analyzing what went wrong prevents similar problems in future projects.
Most DIY failures stem from inadequate preparation, wrong tools, or underestimating the complexity of the task. Sometimes the YouTube tutorial made it look easier than it actually was, or you skipped steps that seemed unnecessary at the time.
Skill development takes time, and jumping into projects beyond your current ability level often leads to problems. Building your capabilities gradually through smaller, less critical projects creates a foundation for tackling bigger challenges successfully.
Turning Disaster Into Success
DIY disasters, while stressful and expensive, don’t have to define your home improvement journey. Many homeowners who experience early failures go on to become skilled DIY enthusiasts once they learn proper planning and risk management strategies.
Your home improvement skills will grow with experience, but disasters will occasionally happen regardless of your skill level. The difference between novice and experienced DIY enthusiasts lies not in avoiding all mistakes but in responding to them effectively and learning from each experience.
Share:
Business Trip Grooming Essentials Kit
Professional Grooming Routine for Busy Executives